
Evolution of Ford Generators
The evolution of the early Ford generator is a fascinating journey through the annals of automotive history, showcasing Ford's pioneering role in electrical system innovation. From the early 1900s to the 1950s, Ford generators underwent significant transformations in design and output, reflecting the increasing electrical demands of automobiles.
1920s: The Birth of the Ford Generator In the 1920s, Ford transitioned from the magneto system to actual generators. These early generators, used in models like the Model T, were a leap forward in automotive electrical systems. They typically produced about 6-8 volts and 10-15 amperes. This was a modest output, but it marked a significant improvement over the earlier systems, providing more reliable power for lighting and ignition.
1930s: Advancements in Power Output By the 1930s, as vehicles incorporated more electrical components, classic Ford generators evolved to meet these new demands. The output increased to approximately 12 volts, with the current rising to around 30-40 amperes. This improvement was crucial in powering additional features like radios and heaters, which were becoming standard in vehicles.
1940s: Post-War Technological Growth Post-World War II, the 1940s saw further advancements in Ford generators. The output stabilized around 12 volts, but the current capabilities expanded, reaching up to 40-50 amperes. This era's generators were more efficient and reliable, reflecting technological advancements and the growing complexity of automotive electrical systems.
1950s: The Peak of Generator Technology The 1950s represented the peak of generator technology before the transition to alternators. Ford generators during this decade were robust, producing 12 volts and capable of up to 50-60 amperes. This increased capacity was essential for powering more sophisticated electrical systems, including advanced lighting, climate control, and entertainment systems.
In conclusion, the evolution of the early Ford generator from the 1920s to the 1950s is a testament to Ford's innovation in automotive technology. Each decade brought significant improvements in output and reliability, mirroring the evolution of automobiles themselves. From the humble beginnings of powering basic vehicle functions to meeting the demands of more complex and luxurious features, Ford generators played a crucial role in the advancement of automotive electrical systems.

Tracing back the gears of time, the story of Ford's iconic "P-R-N-D-L"
Tracing back the gears of time, the story of Ford's iconic "P-R-N-D-L" (affectionately pronounced "prindle") starts in the golden era of automotive innovation. This simple, yet memorable acronym represents the sequence of gears on an automatic transmission: Park, Reverse, Neutral, Drive, and Low. It's a nostalgic nod to the heyday of American car culture, beginning its journey in the 1950s.
In 1951, Ford revolutionized their lineup by introducing the first "automatic" transmission in its cars. This was the birth of the P-R-N-D-L sequence, a groundbreaking innovation at the time. Imagine the delight of drivers who, for the first time, could shift gears with a smooth slide of the lever, just once – a far cry from the manual efforts of the past. It should also be noted that unlike todays automatics the early automatics would only start in neutral!
The 1950s and 60s were a golden age for Ford. Cars were more than mere transport; they symbolized freedom, style, and the American dream. The P-R-N-D-L was an integral part of this. It wasn't just about the ease of shifting gears; it was about the experience. Each letter was a step in the ritual of driving, a connection between human and machine that modern digital interfaces can't replicate.
Fast forward to today, and while cars have evolved with dizzying technology and efficiency, the charm of the classic Ford P-R-N-D-L endures. For enthusiasts and collectors, operating this gearshift isn't just a mechanical action; it's a trip down memory lane, a tactile piece of history that harkens back to the days of chrome, tailfins, and the open road. In essence, the P-R-N-D-L of classic Ford cars is more than just a gear sequence. It's a symbol of a bygone era, a testament to Ford's pioneering spirit, and an enduring part of America's automotive legacy.

INSTALLING A CLASSIC FORD DISTRIBUTOR INTO OLD FORD TRUCKS AND CARS
INSTALLING A CLASSIC FORD DISTRIBUTOR
1932-1941 Old Ford Trucks, 1932-1941 Ford Passenger Cars and 1939-1941 Mercury Cars with original V8 distributor:
1. Check inner caps one at a time to make sure they fit distributor housing, sand them if needed. Also check to make sure once installed rotor does not hit the inner cap. After fitting inner caps put inner and outer caps together with the spark plug wires and set aside.
2. Mount coil to distributor making sure coil brush makes contact with rotor and copper contact is not bent.
3. Make sure the mounting surface is clean and there is nothing in the camshaft slot where the distributor mounts. Check to make sure mounting bolt threads are clean and free of dirt, set bolts on top of engine for easy reach.
4. Time to mount the distributor. Put gasket on base of distributor, you can put a small amount of sealant on the gasket. Place distributor on to timing cover using fingers to turn rotor to make sure distributor is correctly seated in the camshaft. The distributor will mount flat to the timing cover when correctly installed. If the distributor is not seated correctly you can crack the distributor case when you tighten the bolts. Now you can put the three mounting bolts in and tighten. Do not over tighten(snug).
5. Install inner/outer caps to the distributor and pop the bail over to hold in place.
6. Install vacuum line to distributor.
1941-47 (6 Cylinder “G” Engine) Old Ford Trucks and Passenger Cars, 1942-1947 Old Ford Trucks and 1942-1948 Passenger Cars/Mercury Cars (V8):
1. Make sure the mounting surface is clean and there is nothing in the camshaft slot where the distributor mounts. Check to make sure mounting bolt threads are clean and free of dirt, set bolts on top of engine for easy reach.
2. Place the rotor on distributor and mount distributor cap and turn rotor slowly to make sure the rotor does not hit the inner cap. If rotor hits cap lightly file end of rotor till it clears. Remove distributor cap and set aside. Leave rotor on distributor.
3. Time to mount the distributor. Put gasket on base of distributor, you can put a small amount of sealant on the gasket, be sure not to get sealant on vacuum rubber grommet. Place distributor on to timing cover using fingers to turn rotor to make sure distributor is correctly seated in the camshaft. The distributor will mount flat to the timing cover when correctly installed. If the distributor is not seated correctly you can crack the distributor case when you tighten the bolts. Now you can put the two mounting bolts in and tighten. Do not over tighten(snug).
4. Install distributor cap and pop clips on for 42 crab cap. If you have a 46-48 with the inner and outer cap you will have to install plug wires into cap first before installing caps on distributor.

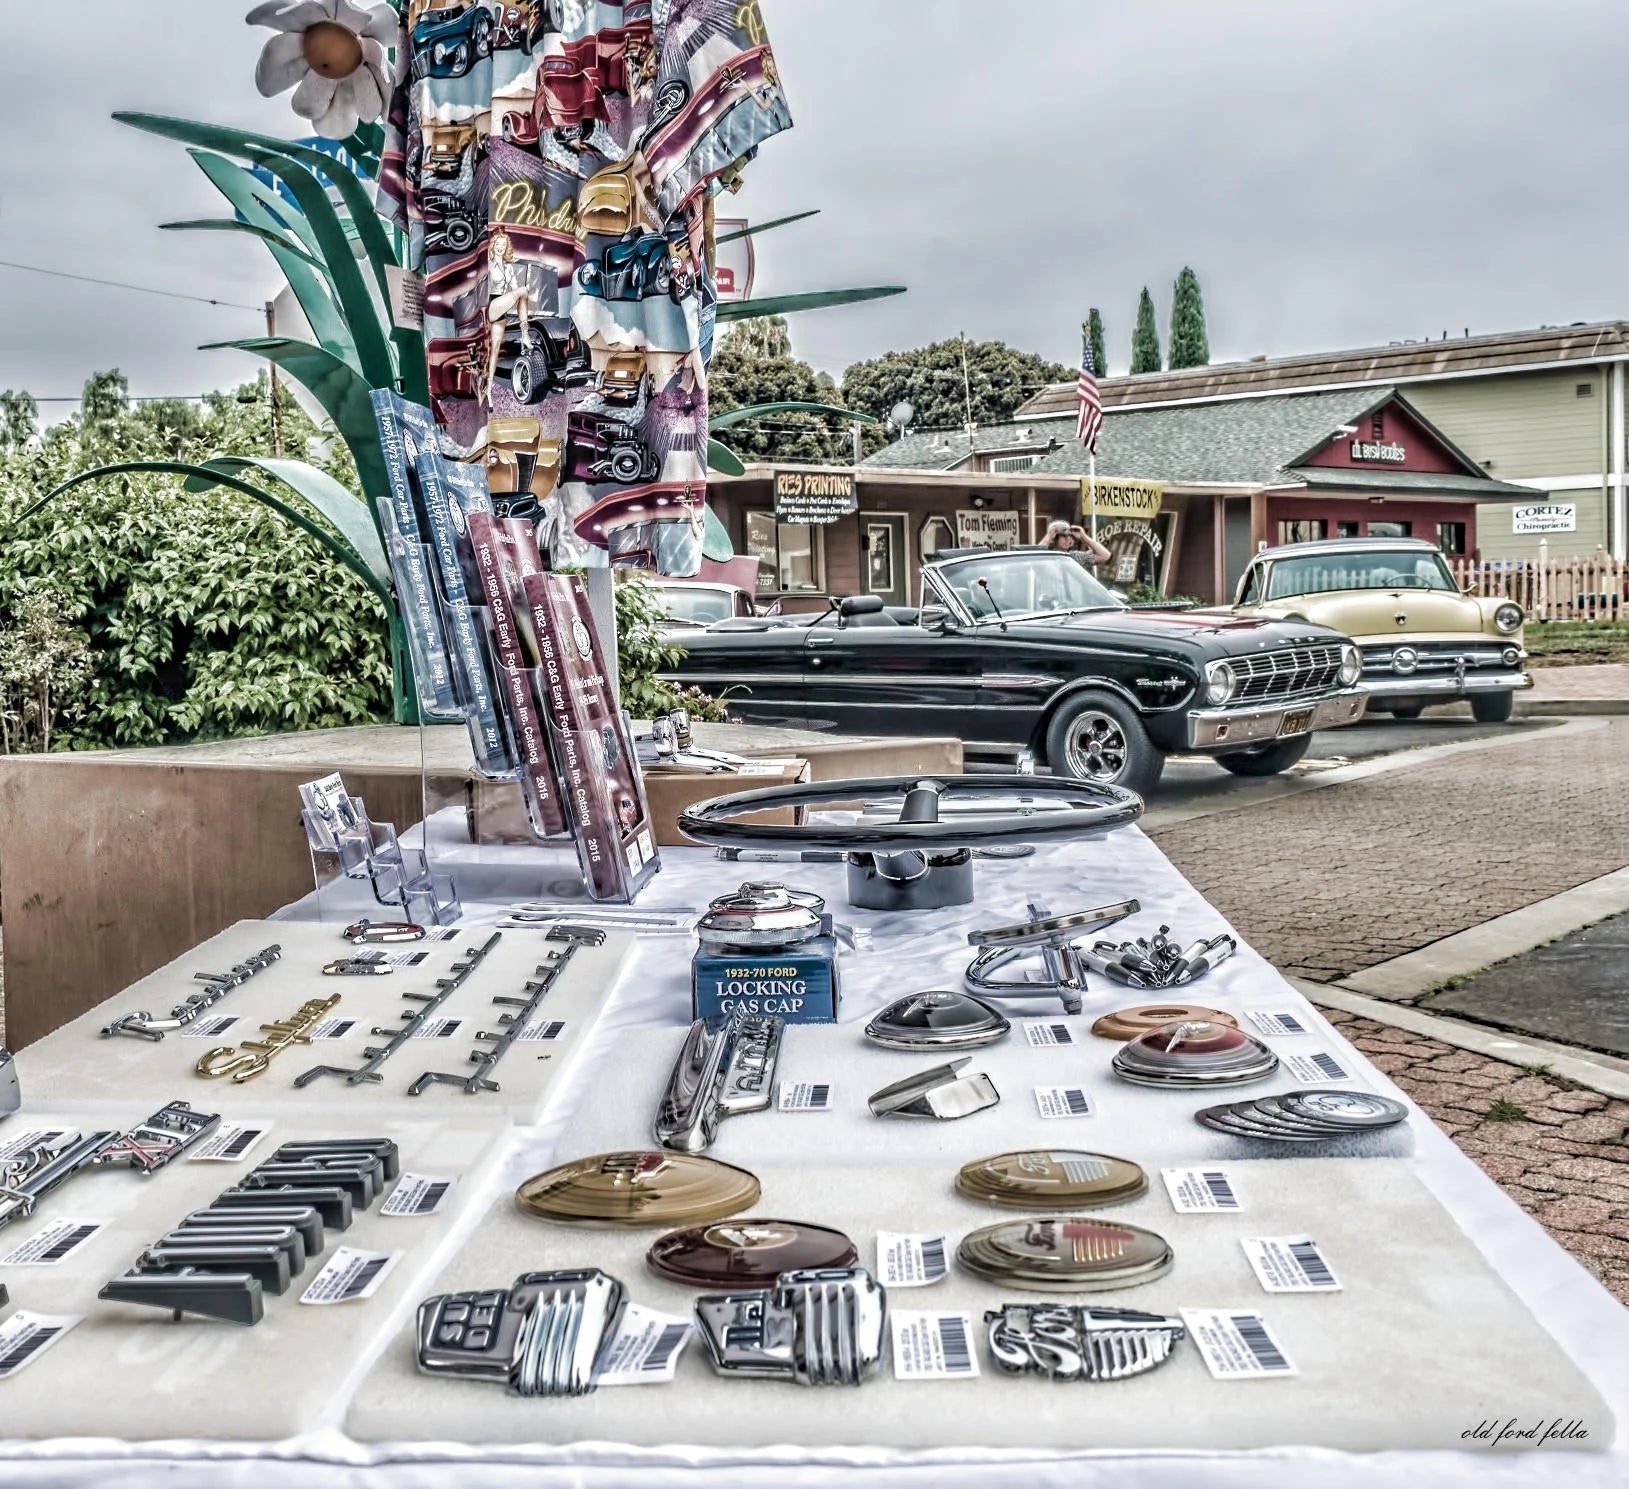
Reproduction parts vs used/nos
As a classic Ford enthusiast, my journey in the realm of restoration has been nothing short of exhausting. The thrill of bringing a vintage beauty back to its former glory is unparalleled. However, this passion comes with its challenges, the most significant being sourcing the right parts. This is where classic reproduction Ford parts have become a game-changer for someone like me.
For years, the pursuit of authentic, original used and NOS parts was akin to searching for a needle in a haystack. These parts, often scarce and very expensive, could mean the difference between a stalled project and a triumphant restoration. Then entered the world of reproduction parts – a world that has not only made restoration more accessible but also more reliable.
Initially, I was skeptical about using reproduction parts. Would they fit correctly? Would they maintain the authentic look and feel of my classic Ford? These concerns, however, were quickly dispelled. Modern reproduction parts are crafted so that they seamlessly blend with the original components. Manufacturers use advanced technologies and materials to replicate parts.
One of the biggest advantages I've experienced with reproduction parts is the availability of parts. Unlike original parts, which may have undergone decades of wear and tear, reproduction parts are brand new and often incorporate modern engineering improvements. This doesn't just bring peace of mind; it enhances the driving experience, making it safer and more enjoyable.
From a cost perspective, reproduction parts are generally more affordable than their NOS counterparts. This affordability has allowed me to allocate resources to other aspects of restoration, like professional paint jobs or interior refurbishments. Moreover, the availability of these parts means less time scouring swap meets and more time in the garage, doing what I love.
In conclusion, classic reproduction Ford parts have transformed the restoration landscape for enthusiasts like me. They bridge the gap between the past and the present, ensuring that the legacy of classic Fords continues to cruise down our roads, not just reside in our memories. They are a testament to the evolving nature of car restoration, blending tradition with innovation, and keeping the spirit of classic Fords alive and roaring.

B-3517-K Upper Steering Tube Bearing Kit
Since you buy all your classic Ford parts from us, we thought we would enlighten you to a product that you might find useful! Let’s say you’re cruising around town in your Classic Ford… you’re reveling in the number of folks you see looking at your ride (yes your car, not you anymore). You roll to a stop easily and decide to turn the corner and drive down Main Street to see if any of your buddies have made it to the Burger Barn. Suddenly, you feel “clunk” and you KNOW the old Ford didn’t come that way from the factory, so you begin to wonder “Hmmm, what could the old girl need now?”Finishing the cruise you head home and call it a night.
Next day you’re up and at ‘em, headed out to the garage. You whizz past your wife in your grubby's and wonder for a moment why she has a big grin on her face, “Oh well, she musta been on the phone” you figure. With a big grin on your face and a wave to the wife, you whistle out loud as you head out the door thinking, “I’ll be at this most of the day” After organizing your tool box and getting everything ready for troubleshooting you begin to diagnose what could be ailing your “baby”.
After troubleshooting for a while, you begin to realize that the bushing in the upper steering tube has worn out. It turned to rock and the steering shaft is wobbling around in the tube causing the clunk you felt last night. “Well, that’s a relief” you gush, “I don’t need to tear apart the front end!” “I wonder if Ford has a warranty recall on those” you chuckle to yourself as you pull your dog eared copy of your trusty C&G Ford Parts catalog off the shelf. You see that there is a replacement rubber upper bushing that often gets worn out over the years. “Just what I need” you think. “Hold the phone, what’s this?” you spot a new- fangled “kit” that only C&G has! This Upper Steering tube bearing kit includes bearing, spring, and bushing sleeve that replaces the original rubber bushing for a longer lasting, easier turning, tight fit. The kit includes a diagram to show you exactly where to install the parts, and in it what order. “Excellent” you whistle. So you pick up the phone, call C&G and after speaking to some friendly and knowledgeable parts folk, you have your kit on the way.
A couple days later, your classic Ford parts show up and you’re ready to install the new B-3517-K kit you ordered. Remove the steering wheel. Remove original rubber bushing from over worm shaft. Install in this order- bearing , sleeve , spring. Make sure the tapered ends are facing down on both bearing and sleeve, drive the bearing down the worm shaft about 3/4" with a large socket, then let sleeve follow. Finally, put spring over worm shaft, in-between the sleeve and the steering wheel. Put steering wheel back on and tighten down the steering nut. No more play in the upper part of the column! Steering Tube Bearing Kit B-3517-K
Ford F100 Parts
Owning or restoring a Ford F100 means that you’ll need easy access to Ford F100 parts whenever you need them.
You want the right parts to keep your classic humming along for as long as you own it. If you’ve had your Ford for several years, then you probably already know where to get your hands on Ford F100 parts when you need them. If you don’t know because you haven’t had any issues with the truck until now, there are a lot of different ways you can find what you need. Check out places where other classic vehicle enthusiasts gather and talk to them. You can find groups that hang out on or offline. In some towns, the local drive-in restaurant has an area where classic car owners will gather on the weekends in order to show off their cars.
The best place that you can buy Ford F100 parts is from an online store where the employees know about older model cars and trucks and can easily locate or order exactly what you need and ship it right to your doorstep. C&G Ford Parts fits that bill nicely. If you’ve already diagnosed the issue with your Ford and know exactly what part it is that you need, then getting it is going to be fairly simple. But, if like a lot of people, you don’t have in depth knowledge about what could be causing your truck’s issue, the pros can help if they specialize in classic car parts. Many of the employees in a classic auto part business have a love and admiration for the classics and they really know the older vehicles inside and out. Plus, by serving a lot of classic car owners when they have needs, this business more than likely has a lot experience with a wide range of vehicle problems. They may have heard all kinds of stories about what’s going on with the Ford truck and helped other owners with the right Ford F100 parts. Not only will the site know what you’re looking for, but a lot of times, if you ask them how to put a part on, they can tell you how or share online video tutorials with you and save you time.
You gain the benefit of their parts knowledge as well as their mechanical knowledge for the same price. What they may suggest and you may find helpful, is to get a catalog of the parts that they do carry so that you’ll have a listing of the parts and the prices. For most classic vehicle owners, they want their F100 truck in pristine condition inside and out. Getting a part that’s “good enough” isn’t enough, they want the best Ford F100 parts.


