Old Ford Pick-Up Trucks: A Timeless Utility

Old Ford Pick-Up Trucks: A Timeless Utility

Old Ford pick-up trucks have carved their place in automotive history, transcending generations with their enduring charm and unparalleled utility. These iconic vehicles, produced from the 1930s to the late 1970s, have a rich legacy that continues to capture the hearts of enthusiasts and collectors today.

Versatility Beyond Compare: One of the key reasons why old Ford pick-up trucks remain beloved is their sheer versatility. Whether it's the robust F100, the iconic F150, or the workhorse F250, these trucks were designed to handle tough tasks. From farm work to construction sites, they've been the backbone of American labor for decades.

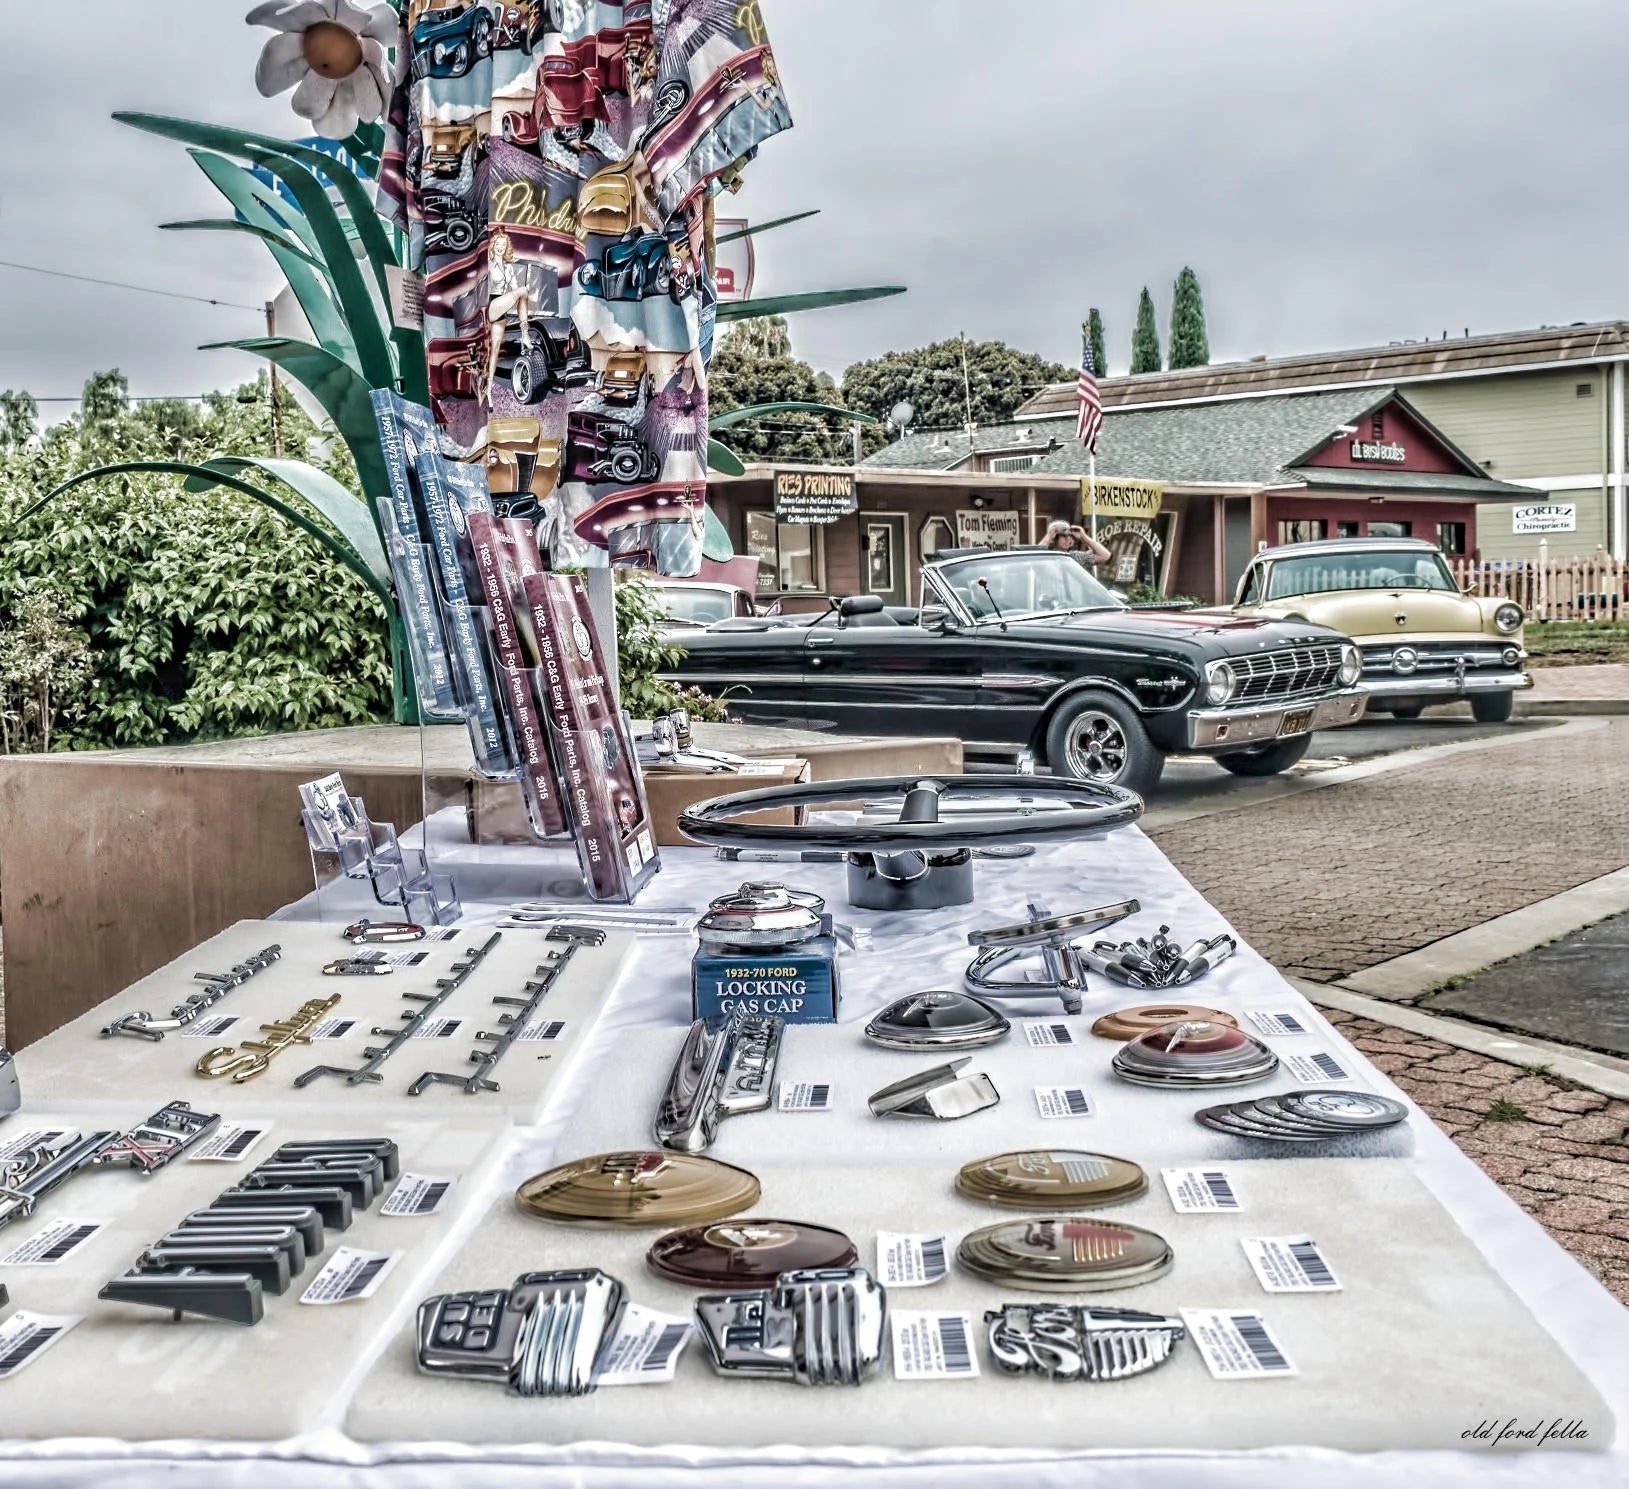
Classic Design That Turns Heads: The timeless design of these trucks is nothing short of legendary. With their distinctive combination of front grilles, headlights, and bold lettering, they exude a sense of nostalgia that's hard to replicate. Restoring and showcasing these vehicles at car shows is a popular hobby among enthusiasts, and it's no wonder – the sight of a beautifully restored old Ford pick-up truck is a showstopper.

A Connection to the Past: Owning and driving an old Ford pick-up truck is like stepping back in time. These vehicles carry with them the stories of countless adventures, road trips, and hard work. Many families have passed down their beloved Ford trucks from one generation to the next, making them cherished heirlooms. Endless Customization: Enthusiasts have embraced the art of customization, turning old Ford pick-up trucks into unique creations. From hot rods to custom paint jobs, the possibilities are endless.

Restoring and personalizing these trucks has become a thriving subculture in the automotive world. In conclusion, old Ford pick-up trucks are more than just vehicles; they're a symbol of American history, hard work, and ingenuity. Their enduring appeal and unmatched utility ensure that they will remain beloved classics for generations to come.


Leave a comment

Please note, comments need to be approved before they are published.

MORE CLASSIC FORD INSIGHTS

Steering Wheel Removal Guide

Steering Wheel Removal Guide

Ford Applications Using D4TZ-3600-A Steering Wheel & D3TZ-13A805-A Horn Pad Servicing the steering column on classic Ford vehicles often requires removing the steering wheel assembly. When working with steering wheel D4TZ-3600-A and horn pad D3TZ-13A805-A applications, the process is straightforward when approached in the correct sequence and with the proper tool. This guide outlines the removal procedure based on original shop notes and preserves the mechanical order of operations. Application Scope Applies to Ford vehicles equipped with: D4TZ-3600-A Steering Wheel D3TZ-13A805-A Horn Pad TOOL-3600 Steering Wheel Puller Application may vary by model year or steering column configuration. Always confirm fitment before ordering replacement components. Original Shop Notes Remove two screws holding horn pad Undo wiring clips for horn pad Loosen steering wheel nut Attach steering wheel tool Loosen wheel Remove tool and nut Remove wheel Step-By-Step Technical Interpretation 1. Remove Horn Pad Retaining Screws The horn pad is secured to the steering wheel by two screws. Removing these fasteners allows access to the internal wiring and steering wheel retaining nut. Use appropriate screwdriver to avoid damaging the screw head. 2. Disconnect Horn Pad Wiring Clips With the horn pad removed, carefully release the wiring clips connected to the horn contact assembly. These clips must be detached before steering wheel removal to prevent wire strain or terminal damage. 3. Loosen the Steering Wheel Retaining Nut Loosen the steering wheel nut but do not remove it completely at this stage. Leaving the nut partially threaded helps protect the steering shaft threads during puller use. 4. Install Steering Wheel Puller (TOOL-3600) Attach the steering wheel puller evenly to the threaded mounting holes in the wheel hub. The puller applies controlled pressure to separate the steering wheel from the tapered steering shaft. Using a puller prevents damage to the wheel hub and avoids stressing the column bearings or shaft splines. 5. Release the Steering Wheel from the Shaft Once the puller is properly secured, gradually tighten the tool until the steering wheel breaks free from the taper. After the wheel loosens, remove the puller and fully remove the steering wheel nut. The steering wheel can then be lifted off the column shaft. When Steering Wheel Removal Is Necessary Steering wheel removal is typically required during: Turn signal switch service Steering column restoration Column bearing inspection Steering wheel replacement Because the steering wheel is mounted on a tapered shaft, proper tool use is recommended to avoid damage. Restoration Considerations On older Ford steering columns, corrosion or age can increase resistance between the wheel hub and shaft taper. Controlled puller pressure is preferable to prying or hammering methods. Inspect wiring connectors and horn contacts while the assembly is disassembled. Access during wheel removal provides an opportunity to evaluate column components without additional tear down. Confirm steering column configuration and model year before ordering steering wheels, horn pads, or related steering components. Explore our full selection of classic Ford steering wheels, horn pads, and steering column components.
 37-41 Old Ford Trucks, Old Ford Car and Old Mercury Car Distributor

INSTALLING A CLASSIC FORD DISTRIBUTOR INTO OLD FORD TRUCKS AND CARS

INSTALLING A CLASSIC FORD DISTRIBUTOR 1932-1941 Old Ford Trucks, 1932-1941 Ford Passenger Cars and 1939-1941 Mercury Cars with original V8 distributor: 1. Check inner caps one at a time to make sure they fit distributor housing, sand them if needed. Also check to make sure once installed rotor does not hit the inner cap. After fitting inner caps put inner and outer caps together with the spark plug wires and set aside. 2. Mount coil to distributor making sure coil brush makes contact with rotor and copper contact is not bent. 3. Make sure the mounting surface is clean and there is nothing in the camshaft slot where the distributor mounts. Check to make sure mounting bolt threads are clean and free of dirt, set bolts on top of engine for easy reach. 4. Time to mount the distributor. Put gasket on base of distributor, you can put a small amount of sealant on the gasket. Place distributor on to timing cover using fingers to turn rotor to make sure distributor is correctly seated in the camshaft. The distributor will mount flat to the timing cover when correctly installed. If the distributor is not seated correctly you can crack the distributor case when you tighten the bolts. Now you can put the three mounting bolts in and tighten. Do not over tighten(snug). 5. Install inner/outer caps to the distributor and pop the bail over to hold in place. 6. Install vacuum line to distributor. 1941-47 (6 Cylinder “G” Engine) Old Ford Trucks and Passenger Cars, 1942-1947 Old Ford Trucks and 1942-1948 Passenger Cars/Mercury Cars (V8): 1. Make sure the mounting surface is clean and there is nothing in the camshaft slot where the distributor mounts. Check to make sure mounting bolt threads are clean and free of dirt, set bolts on top of engine for easy reach. 2. Place the rotor on distributor and mount distributor cap and turn rotor slowly to make sure the rotor does not hit the inner cap. If rotor hits cap lightly file end of rotor till it clears. Remove distributor cap and set aside. Leave rotor on distributor. 3. Time to mount the distributor. Put gasket on base of distributor, you can put a small amount of sealant on the gasket, be sure not to get sealant on vacuum rubber grommet. Place distributor on to timing cover using fingers to turn rotor to make sure distributor is correctly seated in the camshaft. The distributor will mount flat to the timing cover when correctly installed. If the distributor is not seated correctly you can crack the distributor case when you tighten the bolts. Now you can put the two mounting bolts in and tighten. Do not over tighten(snug). 4. Install distributor cap and pop clips on for 42 crab cap. If you have a 46-48 with the inner and outer cap you will have to install plug wires into cap first before installing caps on distributor.
No image

Old Ford? Come experience GREAT customer service!

Old Ford? Come experience GREAT customer service! Have you had enough of poor customer service and lack of technical knowledge when it comes to your old Ford? Believe me we know what it's like. If you're like most people, you probably start off full of drive and excitement, and making good progress on your project for a few weeks or months, but then - Murphy gets busy annoying you! As soon as you get one thing sorted another pops up, you get distracted and your project gets dumped in the too hard basket. And to make matters worse, there's always that one person who keeps asking you how your restoration is going, and you know they're having a good old laugh at your expense. You end up feeling confused and overwhelmed by all the technical jargon and mechanical issues you just don't understand. Until recently the only solution for amateur mechanics trying to break through the restoration problem on an old Ford, was to either obtain a full-time flathead mechanic somewhere or to hire a restoration company to do it for you. The problem with this option is that expert flathead mechanics are hard to find, and even if you do manage to find one willing to help you out, you'll be looking at upwards of $100 per hour, which is simply out of reach for most old ford owners. And it's for this reason that I'm pleased to reveal C&G Ford Parts has free technical help for its customers and we are staffed with folks that currently own or have owned old Ford cars or old Ford trucks! Here at C&G Ford Parts we've been helping old Ford owners with their restoration needs and supplies for over 40 years! And what we've proven over and over in our business is that the easiest and most reliable way to finish up your project is by adding a go to guy to your toolbox. It's literally the difference between a frustrating and annoying project and a "life changing, quit your job" kind of result. (ok, maybe not quit your job). With C&G Ford Parts lending their expertise and supplying your parts you'll be able to restore your vehicle with the fun and excitement you had hoped it would bring! If you get stuck you always know all you need to do is dial us up or drop us an email and we'll be there! Now what makes our service different from any other parts service out there is that there's NO additional costs - No out today fees, no added shipping fees, no waiting for days for a tech to call back AND you're covered for as long as you're a customer! Let's take a look at how C&G Ford Parts helps you. Our customers enjoy: Free tech support from old ford owners Friendly live person customer service Best reproduction parts available Over 100 manufacturers Worldwide shipping This is just a taste of what people are already saying about C&G Ford Parts: ----- Well organized, responsive, helpful in planning parts needs for specific project —Lawrence G. ----- How quick and efficient can you guys get?!! —Terry M. So, You've wasted enough of your time, energy, and sanity on trying to fix those irritating issues by yourself! You can finally put an end to all your frustration and disappointment simply by giving C&G Ford parts a call, email or web form question. Just imagine waking up in the morning, opening your mailbox, and finding your parts order no matter where you are in the world. You smile to yourself as you realize the fun an old car can be when you have the right help. So pick up the phone or computer mouse and let us fill your old ford parts order quickly and efficiently.