Classic Ford Parts for Classy Old Fords

C&G Ford Parts warehouse

Classic Ford Parts for Classy Old Fords

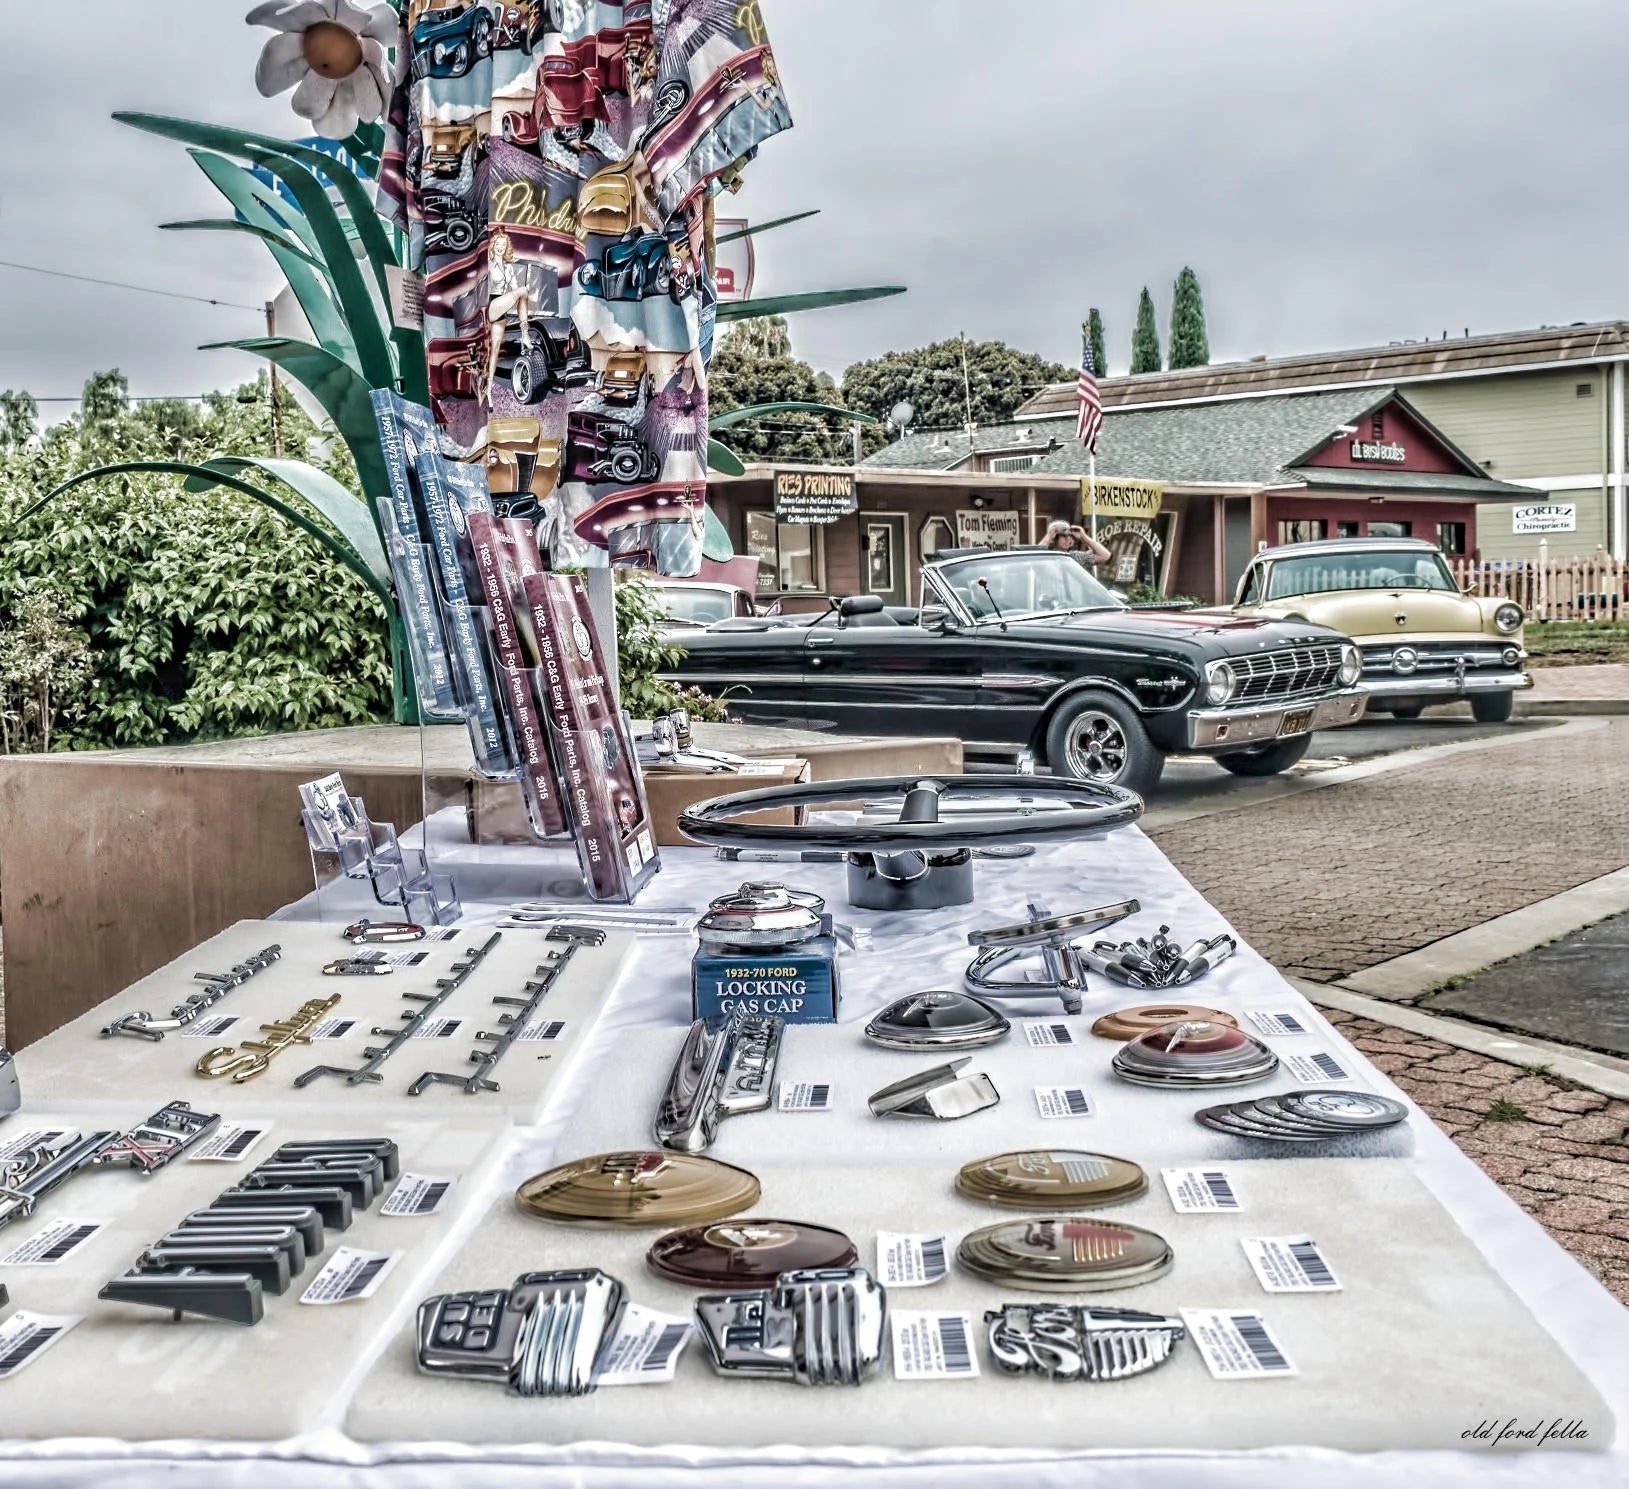
Seeing a vintage Ford gleaming in the sun at a local car show is a treat for the eyes, but even these beautiful vehicles need parts to keep them running smoothly. When something does go wrong with the vehicle, you need to find a store like ours – some place that understands the intricacies of troubleshooting and replacing old Ford parts and understands the mindset of the early Ford owner. You need to know that our selection covers 1932 through 1972 Old Ford cars and 1932 through 1979 old Ford trucks. We ship worldwide Monday through Friday.

Unfortunately, you probably already personally experienced, and know all too well, what happens when you walk into a chain auto parts store looking for a part for a 1932 anything that Ford rolled off the assembly line. You’ll get a blank look for your asking. You might get lucky and the counter person will do a google search followed by a “no” if you’re lucky, or a shoulder shrug if you’re not.

That’s because these shops carry more parts for current vehicles less than 10 years old and practically nothing for the Old Fords. So as a proof of concept; plug all the information about what you need for your vehicle into the online search area of a chain auto parts store, you’ll see no results and you’re back to square one.

You can save yourself a lot of time and frustration by going straight to people like Kyle, Lee, Kristian or Joe – folks who know how important classic Ford parts are and exactly how to get those quality reproduction parts into your hands. People who own vintage Ford vehicles themselves. That’s one of the reasons we have over 200 vendors and tens of thousands of parts on the shelf, so that these vehicles get the right parts they need and will keep running long after other makes are sitting on the sidelines.

When it comes to working on these old Ford vehicles, we have what you need, the folks who understand what you need and the "how it works", as well as the ability to get it to you fast anywhere in the world. Whether it’s a 1956 F100 truck and you need a windshield seal, or, a 1940 Ford car and it’s a tie rod, you’ll have to look no further than C&G Ford Parts. On the web or on the phone or even if you drop by and chew the fat at the parts counter, we know what classic Ford parts you need.

So, forget the aftermarket big car parts chains and come experience good old fashioned customer service and quality know-how.


Leave a comment

Please note, comments need to be approved before they are published.

MORE CLASSIC FORD INSIGHTS

Steering Wheel Removal Guide

Steering Wheel Removal Guide

Ford Applications Using D4TZ-3600-A Steering Wheel & D3TZ-13A805-A Horn Pad Servicing the steering column on classic Ford vehicles often requires removing the steering wheel assembly. When working with steering wheel D4TZ-3600-A and horn pad D3TZ-13A805-A applications, the process is straightforward when approached in the correct sequence and with the proper tool. This guide outlines the removal procedure based on original shop notes and preserves the mechanical order of operations. Application Scope Applies to Ford vehicles equipped with: D4TZ-3600-A Steering Wheel D3TZ-13A805-A Horn Pad TOOL-3600 Steering Wheel Puller Application may vary by model year or steering column configuration. Always confirm fitment before ordering replacement components. Original Shop Notes Remove two screws holding horn pad Undo wiring clips for horn pad Loosen steering wheel nut Attach steering wheel tool Loosen wheel Remove tool and nut Remove wheel Step-By-Step Technical Interpretation 1. Remove Horn Pad Retaining Screws The horn pad is secured to the steering wheel by two screws. Removing these fasteners allows access to the internal wiring and steering wheel retaining nut. Use appropriate screwdriver to avoid damaging the screw head. 2. Disconnect Horn Pad Wiring Clips With the horn pad removed, carefully release the wiring clips connected to the horn contact assembly. These clips must be detached before steering wheel removal to prevent wire strain or terminal damage. 3. Loosen the Steering Wheel Retaining Nut Loosen the steering wheel nut but do not remove it completely at this stage. Leaving the nut partially threaded helps protect the steering shaft threads during puller use. 4. Install Steering Wheel Puller (TOOL-3600) Attach the steering wheel puller evenly to the threaded mounting holes in the wheel hub. The puller applies controlled pressure to separate the steering wheel from the tapered steering shaft. Using a puller prevents damage to the wheel hub and avoids stressing the column bearings or shaft splines. 5. Release the Steering Wheel from the Shaft Once the puller is properly secured, gradually tighten the tool until the steering wheel breaks free from the taper. After the wheel loosens, remove the puller and fully remove the steering wheel nut. The steering wheel can then be lifted off the column shaft. When Steering Wheel Removal Is Necessary Steering wheel removal is typically required during: Turn signal switch service Steering column restoration Column bearing inspection Steering wheel replacement Because the steering wheel is mounted on a tapered shaft, proper tool use is recommended to avoid damage. Restoration Considerations On older Ford steering columns, corrosion or age can increase resistance between the wheel hub and shaft taper. Controlled puller pressure is preferable to prying or hammering methods. Inspect wiring connectors and horn contacts while the assembly is disassembled. Access during wheel removal provides an opportunity to evaluate column components without additional tear down. Confirm steering column configuration and model year before ordering steering wheels, horn pads, or related steering components. Explore our full selection of classic Ford steering wheels, horn pads, and steering column components.
Reproduction parts vs used/nos

Reproduction parts vs used/nos

As a classic Ford enthusiast, my journey in the realm of restoration has been nothing short of exhausting. The thrill of bringing a vintage beauty back to its former glory is unparalleled. However, this passion comes with its challenges, the most significant being sourcing the right parts. This is where classic reproduction Ford parts have become a game-changer for someone like me. For years, the pursuit of authentic, original used and NOS parts was akin to searching for a needle in a haystack. These parts, often scarce and very expensive, could mean the difference between a stalled project and a triumphant restoration. Then entered the world of reproduction parts – a world that has not only made restoration more accessible but also more reliable. Initially, I was skeptical about using reproduction parts. Would they fit correctly? Would they maintain the authentic look and feel of my classic Ford? These concerns, however, were quickly dispelled. Modern reproduction parts are crafted so that they seamlessly blend with the original components. Manufacturers use advanced technologies and materials to replicate parts. One of the biggest advantages I've experienced with reproduction parts is the availability of parts. Unlike original parts, which may have undergone decades of wear and tear, reproduction parts are brand new and often incorporate modern engineering improvements. This doesn't just bring peace of mind; it enhances the driving experience, making it safer and more enjoyable. From a cost perspective, reproduction parts are generally more affordable than their NOS counterparts. This affordability has allowed me to allocate resources to other aspects of restoration, like professional paint jobs or interior refurbishments. Moreover, the availability of these parts means less time scouring swap meets and more time in the garage, doing what I love. In conclusion, classic reproduction Ford parts have transformed the restoration landscape for enthusiasts like me. They bridge the gap between the past and the present, ensuring that the legacy of classic Fords continues to cruise down our roads, not just reside in our memories. They are a testament to the evolving nature of car restoration, blending tradition with innovation, and keeping the spirit of classic Fords alive and roaring.
Old Ford Drum Brake History and Tutorial

Old Ford Drum Brake History and Tutorial

Old Ford drum brake history and tutorial Pre 1967 old Ford cars and old Ford trucks used a drum brake system. In these systems, pressure applied to the brake pedal is transmitted to the master cylinder, which in turn disperses the energy ultimately to the brakes in each wheel. The master cylinder uses the brake fluid to move the wheel cylinders, which in turn moves the brake shoes in the drum. There is a front and back brake shoe, the rear one for stopping a vehicle in drive and the forward one for stopping a vehicle in reverse. When either shoe is pressed against the anchor pin, the brakes are engaged, and the vehicle comes to a stop. The brake pads form the shoes to the anchor pin so there is no slipping. The padding on the rear brake shoe is typically longer and sometimes made of a different material to allow the shoes to wear at a similar rate, since the rear shoe sees much more use. The brake shoes are secured in the drum with both hardware and return springs, which must meet ideal sizing and tension specifications for your make and model for top brake performance. These parts should be replaced any time you work on the brakes in order to counteract wear and tear that can lead to longer stopping times. Stock brake line hoses will have a rubber lining, while aftermarket hoses are available in a stainless braided wrap to preserve the hose. Whichever type you get, make sure the hoses are the correct thread size and length for your year and model and meet DOT safety standards. The rear wheel drum brakes will also contain the parking brake mechanism and will have a cable to the parking brake. Brake pipe must be double flared and use flared nuts. It can be purchased with the flaring already completed or you can cut your own and flare it yourself, but it should meet or exceed DOT safety standards. Hydraulic brakes will fail if there is a weak point in the system, so make sure all your hose and fittings are SAE rated and correctly installed. If you are unsure after installation, test the brakes at low speed in a safe area, such as your driveway or an empty parking lot before taking the vehicle on the road. Starting in 1967 all old fords have a dual master cylinder. This part separates the wheel hydraulics of the front and rear of the car, so a failure in one will not cause a failure in the other. In vehicles without this feature, a leak anywhere in the brake line will cause the entire brake system to fail. With a dual master cylinder, a leak in the front brake system will not affect the rear and vice versa. This is standard in vehicles made after '67, but it's a good safety upgrade for older classic Fords as well. Many classic Ford owners choose to upgrade their front brake system to disc brakes, or the complete system. Drum brakes can overheat and fail in high braking conditions, such as rapid stops at high speeds or driving downhill on mountainous roads. Disc brakes are open and exposed to the outside air, which prevents overheating and brake failure. While this upgrade is not strictly necessary, it's a good idea if you frequently drive in hilly or mountainous areas. Original Ford brake shoes used asbestos in the brake pads. If you are working on a vehicle with its original brake shoes or if you are uncertain if they are original, wear a respirator rated for asbestos while working and wet the brake pads before opening the drum to prevent the asbestos from becoming air born. When cleaning dust from drum brakes, use a dense filtration system to trap the asbestos and dispose of it properly. You can resurface a drum with minor surface issues, but make sure it stays within factory limits for your year and model. Worn or thin drums can break apart or crack and cause brake failure. If you see excessive wear and tear, replace the drum. If you are replacing a leaking wheel cylinder, it's a good idea to do them all at once, including the master cylinder. If you have had problems with one, you will soon have problems with the rest. In addition, you won't need to remember which cylinder was replaced when for future maintenance if they were all replaced at once. You can use a vacuum bleeder to remove old brake fluid and contaminants. Once you remove the old fluid you can use denatured alcohol followed by air to purge the lines. Vacuum each cylinder, including the master cylinder, and replace the old fluid with new, DOT 3 or 4 fluids. When changing fluid, change the rubber hoses and seals. If you have a combination disc and drum system, only use DOT 4 fluid. To ensure a complete cleaning, vacuum some of the new fluid through as well do catch any missed contaminants. When working on or near the brake line, make sure no petroleum-based liquid, such as gasoline, oil, or mineral oil, encounters the hosing. These oils can break down the rubber and cause hoses to start leaking. Make sure to wash your hands thoroughly before and during working on the brakes system to prevent this, especially if you have been working on other parts of the vehicle. When working on your brakes, make sure to follow safety precautions, use safety rated parts, and check over your work carefully. Drum brakes are a very important part of the machinery, and due to the hydraulic system, can easily lose stopping power or fail if something is wrong, especially without a dual master cylinder. Whether you're doing regular maintenance or upgrading the whole system, working carefully will ensure a successful job for your vehicle.