1979 Ford F150

1979 Ford F150

1979 Ford F150

The 1979 Ford F150 stands as a significant chapter in the storied history of Ford trucks. Known for its durability, classic design, and utility, the '79 F150 is a beloved model among enthusiasts of classic Ford automobiles.

Specifications

Engine Options: The 1979 F150 came with various engine options, including: 4.9L 300 Inline-6: A reliable workhorse known for its longevity. 5.0L 302 V8: Offered a balance of power and efficiency. 5.8L 351M V8 and 6.6L 400 V8: These larger engines were preferred for heavier towing and payload capacities.

Transmission: Standard: 3-speed manual. Optional: 4-speed manual and 3-speed automatic.

Dimensions: Wheelbase: Ranged from 117 inches (regular cab, short bed) to 155 inches (SuperCab, long bed). Length: Varied based on the model, from 188.5 inches to 235 inches. Width: Approximately 79 inches.

Towing and Payload: Depended on the engine and configuration, with the larger engines supporting greater capacities.

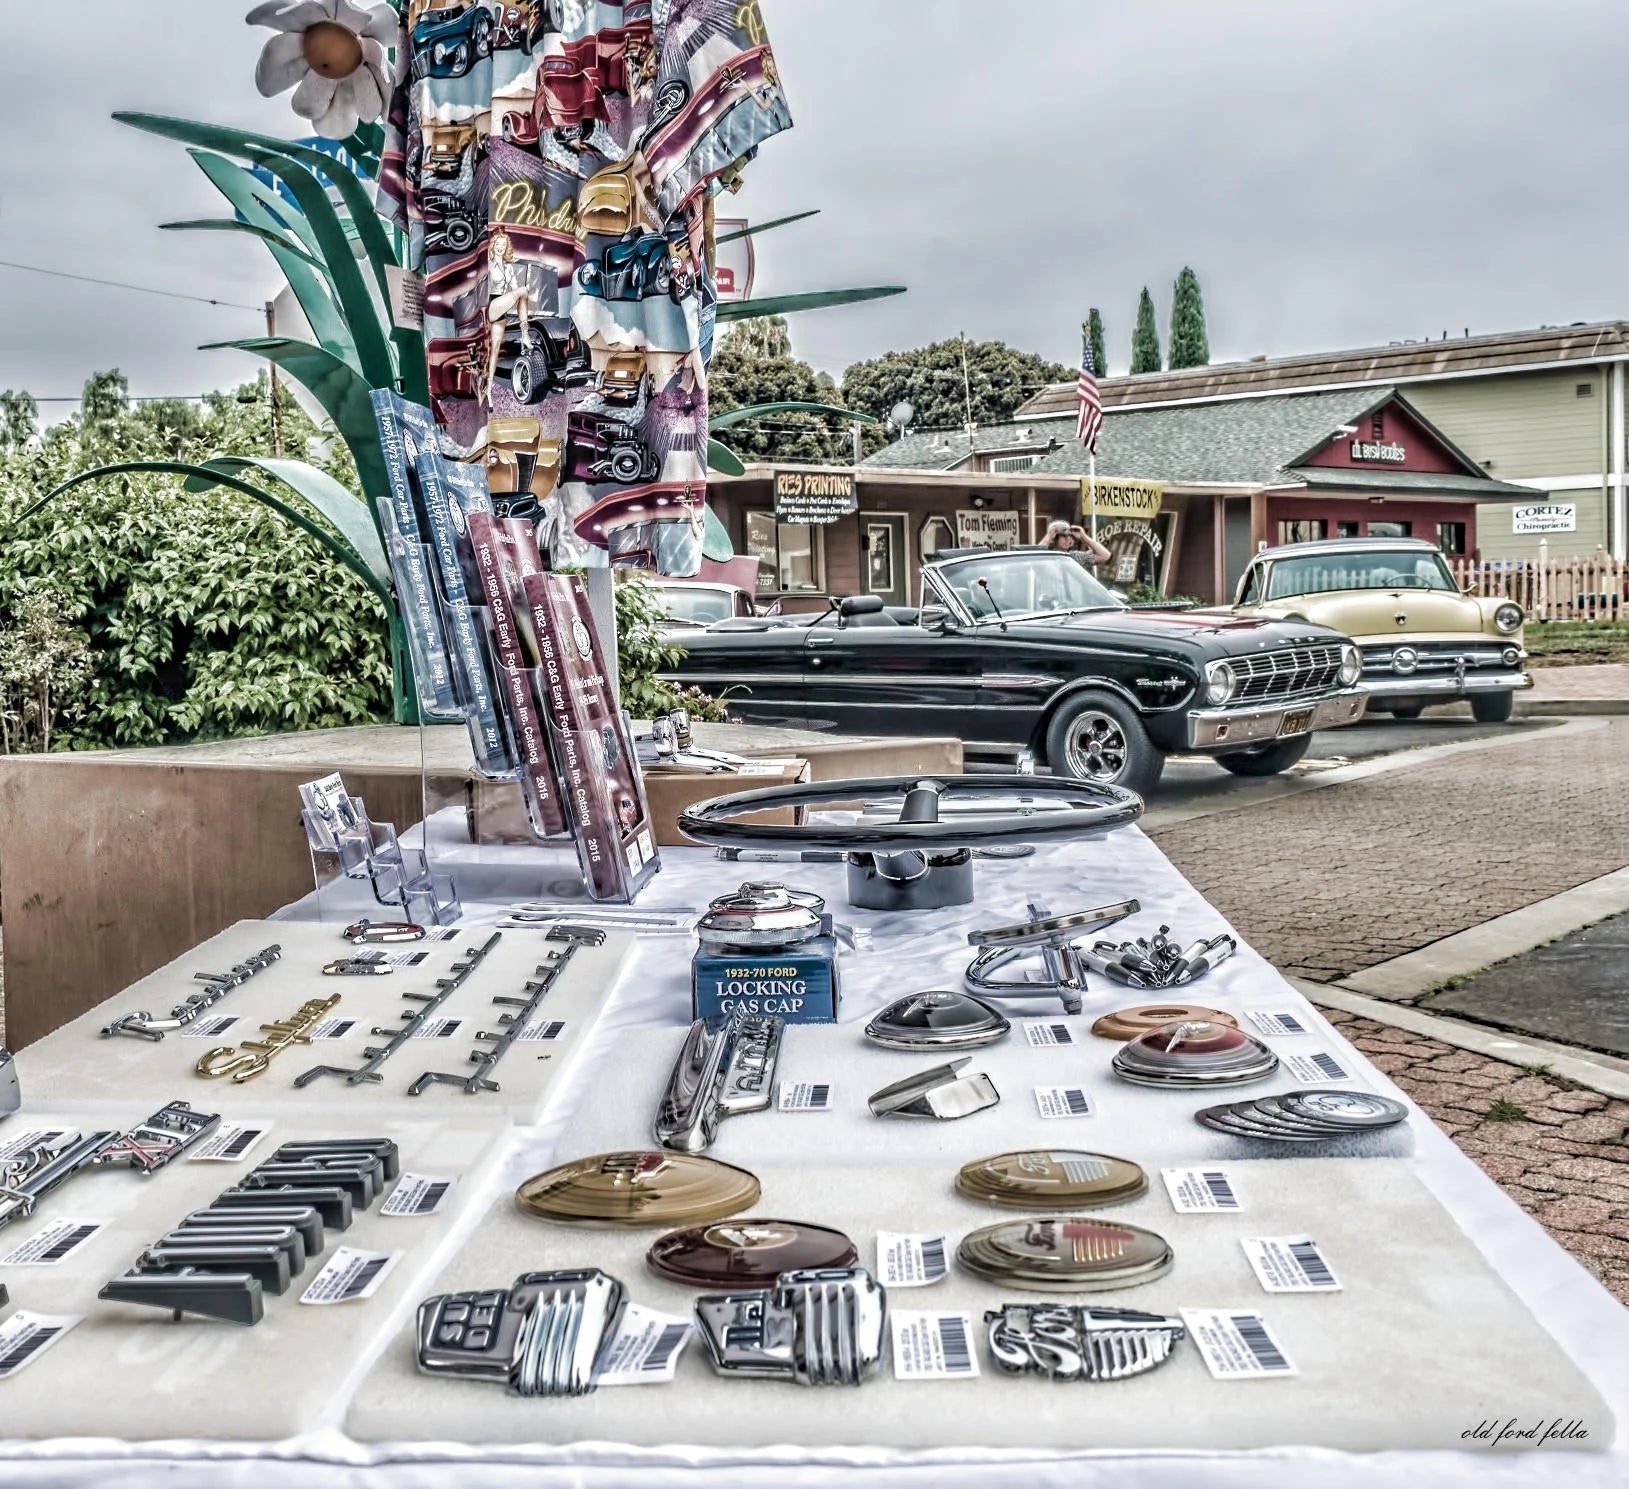
Part Numbers: Locating specific part numbers for a vehicle as old as the 1979 F150 can be challenging. However, some common parts include: Brake Pads: D84-2 Oil Filter: FL-1A Spark Plugs: AGSF32. For more specific parts and their numbers, enthusiasts often refer to vintage Ford parts catalogs or online forums. A great place to get real people to talk parts with, is C&G Ford Parts in Escondido, California.

Production Numbers: Ford does not publicly release detailed production numbers by year and model. However, it's known that the F-Series was America's best-selling truck in 1979, contributing significantly to the series' overall sales. The F150's popularity in this era helped solidify its legacy in the Ford lineup.

Accessories and Customization: The 1979 F150 was often customized and accessorized, reflecting the owner's needs and style. Popular accessories included: Chrome Bumpers: For enhanced aesthetics. Toolboxes: Fitted in the bed for utility. Lift Kits: Many owners lifted their trucks for off-road capability or for a more imposing road presence. Custom Paint Jobs: Reflecting the era's penchant for personalization.

Conclusion: The 1979 Ford F150 remains a beloved classic. Its robust construction, range of engine options, and classic styling have ensured its lasting appeal. While specific part numbers and production figures can be elusive, the truck's impact on the automotive landscape is undeniable. Whether restored to its original glory or customized for modern roads, the '79 F150 continues to be a symbol of Americana and the enduring legacy of Ford trucks.

Leave a comment

Please note, comments need to be approved before they are published.

MORE CLASSIC FORD INSIGHTS

Turn Signal Switch Removal & Replacement

Turn Signal Switch Removal & Replacement

Turn Signal Switch Removal & Replacement Guide Classic Ford Mustang, Falcon, Fairlane, Comet & F-Series Trucks (1960s–1970s) If your turn signals are acting up—or just plain dead—it’s often the switch inside the column calling it quits. The good news? This is a very doable repair with basic tools and a little patience. Below is a step-by-step guide to replacing classic Ford turn signal switches, including popular part numbers like C3OZ-13341-B, C5OZ-13341-B, C5OZ-13341-HQ, C9TZ-13341-C, and C9TZ-13341-USA. Why Replace Your Turn Signal Switch? A worn or failing turn signal switch can cause: Intermittent or non-functioning signals Brake light issues Horn malfunctions (shared circuit in many models) Replacing it restores proper electrical function and keeps your classic Ford safe—and road legal. Tools & Prep Steering wheel puller (TOOL-3600) Small crescent wrench Screwdrivers Dielectric grease Phone (for reference photos—trust me on this one) First rule: Disconnect the battery ground cable. Always. Step-by-Step Removal 1. Remove the Turn Signal Lever Twist the lever out. If it’s stubborn, use a small crescent wrench on the flat spot found on most originals. 2. Remove Horn Button or Ring Push down and turn left to release.⚠️ Go slow—there’s a spring underneath that likes to make a break for freedom. Inspect horn ring retainer Remove horn brush if equipped 3. Pull the Steering Wheel Use your steering wheel puller (TOOL-3600) and set the wheel aside. 4. Document Wiring (Critical Step) Before disconnecting anything: Take clear photos of wire routing and colors Or write them down if you're going old-school Some 1965+ models use connectors that may require a release tool. 5. Disconnect Wiring Under Dash Unplug the turn signal switch harness from beneath the dash. 6. Remove the Turn Signal Switch Back at the column: Remove the (3) mounting screws ONLY Do NOT remove the two large nuts (unless you enjoy fishing dropped studs out of a column…) Carefully pull the switch upward while feeding the wires out of the column. Installation Process 7. Compare Old vs New Switch Before installing: Match wire colors and count Confirm lever compatibility 8. Install New Switch Feed wires down through the column Seat the switch properly Reinstall the (3) retaining screws 9. Reconnect Wiring Plug into under-dash harness Apply dielectric grease to connections for longevity 10. Reassemble Column Reinstall steering wheel Install horn brush (if applicable) Replace spring, horn button/ring Thread in turn signal lever (don’t over tighten) Final Check (Moment of Truth) Reconnect the battery. Now… No smoke? Good sign. No weird noises? Even better. Turn the key and test: Turn signals Brake lights Horn If everything works—you nailed it.If not… well… time to retrace those wiring steps. Pro Tips from the Shop Floor Always photograph wiring before disassembly—memory lies, photos don’t Replace worn horn components while you’re in there Use dielectric grease to prevent future corrosion issues Never force the switch or lever during install Need the Right Turn Signal Switch? At C&G Ford Parts, we’ve been helping restorers get it right since 1978. Every part we carry is built for proper fitment and factory-correct function—because guessing doesn’t belong in a restoration. 👉 Browse our selection of classic Ford turn signal switches and get your signals back in sync.
No image

Ford F100 Parts

Owning or restoring a Ford F100 means that you’ll need easy access to Ford F100 parts whenever you need them. You want the right parts to keep your classic humming along for as long as you own it. If you’ve had your Ford for several years, then you probably already know where to get your hands on Ford F100 parts when you need them. If you don’t know because you haven’t had any issues with the truck until now, there are a lot of different ways you can find what you need. Check out places where other classic vehicle enthusiasts gather and talk to them. You can find groups that hang out on or offline. In some towns, the local drive-in restaurant has an area where classic car owners will gather on the weekends in order to show off their cars. The best place that you can buy Ford F100 parts is from an online store where the employees know about older model cars and trucks and can easily locate or order exactly what you need and ship it right to your doorstep. C&G Ford Parts fits that bill nicely. If you’ve already diagnosed the issue with your Ford and know exactly what part it is that you need, then getting it is going to be fairly simple. But, if like a lot of people, you don’t have in depth knowledge about what could be causing your truck’s issue, the pros can help if they specialize in classic car parts. Many of the employees in a classic auto part business have a love and admiration for the classics and they really know the older vehicles inside and out. Plus, by serving a lot of classic car owners when they have needs, this business more than likely has a lot experience with a wide range of vehicle problems. They may have heard all kinds of stories about what’s going on with the Ford truck and helped other owners with the right Ford F100 parts. Not only will the site know what you’re looking for, but a lot of times, if you ask them how to put a part on, they can tell you how or share online video tutorials with you and save you time. You gain the benefit of their parts knowledge as well as their mechanical knowledge for the same price. What they may suggest and you may find helpful, is to get a catalog of the parts that they do carry so that you’ll have a listing of the parts and the prices. For most classic vehicle owners, they want their F100 truck in pristine condition inside and out. Getting a part that’s “good enough” isn’t enough, they want the best Ford F100 parts.
Old Ford Drum Brake History and Tutorial

Old Ford Drum Brake History and Tutorial

Old Ford drum brake history and tutorial Pre 1967 old Ford cars and old Ford trucks used a drum brake system. In these systems, pressure applied to the brake pedal is transmitted to the master cylinder, which in turn disperses the energy ultimately to the brakes in each wheel. The master cylinder uses the brake fluid to move the wheel cylinders, which in turn moves the brake shoes in the drum. There is a front and back brake shoe, the rear one for stopping a vehicle in drive and the forward one for stopping a vehicle in reverse. When either shoe is pressed against the anchor pin, the brakes are engaged, and the vehicle comes to a stop. The brake pads form the shoes to the anchor pin so there is no slipping. The padding on the rear brake shoe is typically longer and sometimes made of a different material to allow the shoes to wear at a similar rate, since the rear shoe sees much more use. The brake shoes are secured in the drum with both hardware and return springs, which must meet ideal sizing and tension specifications for your make and model for top brake performance. These parts should be replaced any time you work on the brakes in order to counteract wear and tear that can lead to longer stopping times. Stock brake line hoses will have a rubber lining, while aftermarket hoses are available in a stainless braided wrap to preserve the hose. Whichever type you get, make sure the hoses are the correct thread size and length for your year and model and meet DOT safety standards. The rear wheel drum brakes will also contain the parking brake mechanism and will have a cable to the parking brake. Brake pipe must be double flared and use flared nuts. It can be purchased with the flaring already completed or you can cut your own and flare it yourself, but it should meet or exceed DOT safety standards. Hydraulic brakes will fail if there is a weak point in the system, so make sure all your hose and fittings are SAE rated and correctly installed. If you are unsure after installation, test the brakes at low speed in a safe area, such as your driveway or an empty parking lot before taking the vehicle on the road. Starting in 1967 all old fords have a dual master cylinder. This part separates the wheel hydraulics of the front and rear of the car, so a failure in one will not cause a failure in the other. In vehicles without this feature, a leak anywhere in the brake line will cause the entire brake system to fail. With a dual master cylinder, a leak in the front brake system will not affect the rear and vice versa. This is standard in vehicles made after '67, but it's a good safety upgrade for older classic Fords as well. Many classic Ford owners choose to upgrade their front brake system to disc brakes, or the complete system. Drum brakes can overheat and fail in high braking conditions, such as rapid stops at high speeds or driving downhill on mountainous roads. Disc brakes are open and exposed to the outside air, which prevents overheating and brake failure. While this upgrade is not strictly necessary, it's a good idea if you frequently drive in hilly or mountainous areas. Original Ford brake shoes used asbestos in the brake pads. If you are working on a vehicle with its original brake shoes or if you are uncertain if they are original, wear a respirator rated for asbestos while working and wet the brake pads before opening the drum to prevent the asbestos from becoming air born. When cleaning dust from drum brakes, use a dense filtration system to trap the asbestos and dispose of it properly. You can resurface a drum with minor surface issues, but make sure it stays within factory limits for your year and model. Worn or thin drums can break apart or crack and cause brake failure. If you see excessive wear and tear, replace the drum. If you are replacing a leaking wheel cylinder, it's a good idea to do them all at once, including the master cylinder. If you have had problems with one, you will soon have problems with the rest. In addition, you won't need to remember which cylinder was replaced when for future maintenance if they were all replaced at once. You can use a vacuum bleeder to remove old brake fluid and contaminants. Once you remove the old fluid you can use denatured alcohol followed by air to purge the lines. Vacuum each cylinder, including the master cylinder, and replace the old fluid with new, DOT 3 or 4 fluids. When changing fluid, change the rubber hoses and seals. If you have a combination disc and drum system, only use DOT 4 fluid. To ensure a complete cleaning, vacuum some of the new fluid through as well do catch any missed contaminants. When working on or near the brake line, make sure no petroleum-based liquid, such as gasoline, oil, or mineral oil, encounters the hosing. These oils can break down the rubber and cause hoses to start leaking. Make sure to wash your hands thoroughly before and during working on the brakes system to prevent this, especially if you have been working on other parts of the vehicle. When working on your brakes, make sure to follow safety precautions, use safety rated parts, and check over your work carefully. Drum brakes are a very important part of the machinery, and due to the hydraulic system, can easily lose stopping power or fail if something is wrong, especially without a dual master cylinder. Whether you're doing regular maintenance or upgrading the whole system, working carefully will ensure a successful job for your vehicle.